New hardware for my Nutanix CE homelab means a new installation of Nutanix Community Edition! Nutanix released a new version about a month ago with lots of new features and enhancements.

Nutanix CE is a free, self-support version of the Nutanix software stack, built for use in non-production environments. It provides users with a hands-on opportunity to explore Nutanix’s hyperconverged infrastructure technology, which combines storage, computing, and networking into a single, easily scalable platform. For anyone curious about how Nutanix works in a real-world setting, CE offers a fully functional environment without the need for costly enterprise licensing.
The installation process for Nutanix CE has been simplified in version 2.1, though some knowledge of virtualization and networking is still necessary. One key benefit of this release is its improved compatibility with newer hardware and expanded storage options. Users can now deploy CE on a wider range of systems, making it easier to test configurations before rolling out a full production environment.
The biggest improvement is that Nutanix CE is now based on the latest AOS, 6.8.1, and will follow the normal lifecycle updates of AOS and AHV from the commercial versions. You don’t have to wait ages for a specific Nutanix CE version anymore. :-)
It is compatible with the commercial version of Prism Central, allowing users to try out all great other features and access the PrismCentral API for automation.
Drawbacks are no VMWare ESXi support anymore and no automatic cluster creation after installation, requiring manual installation of the cluster (and Prism Element) via the commandline.
Nutanix CE installation
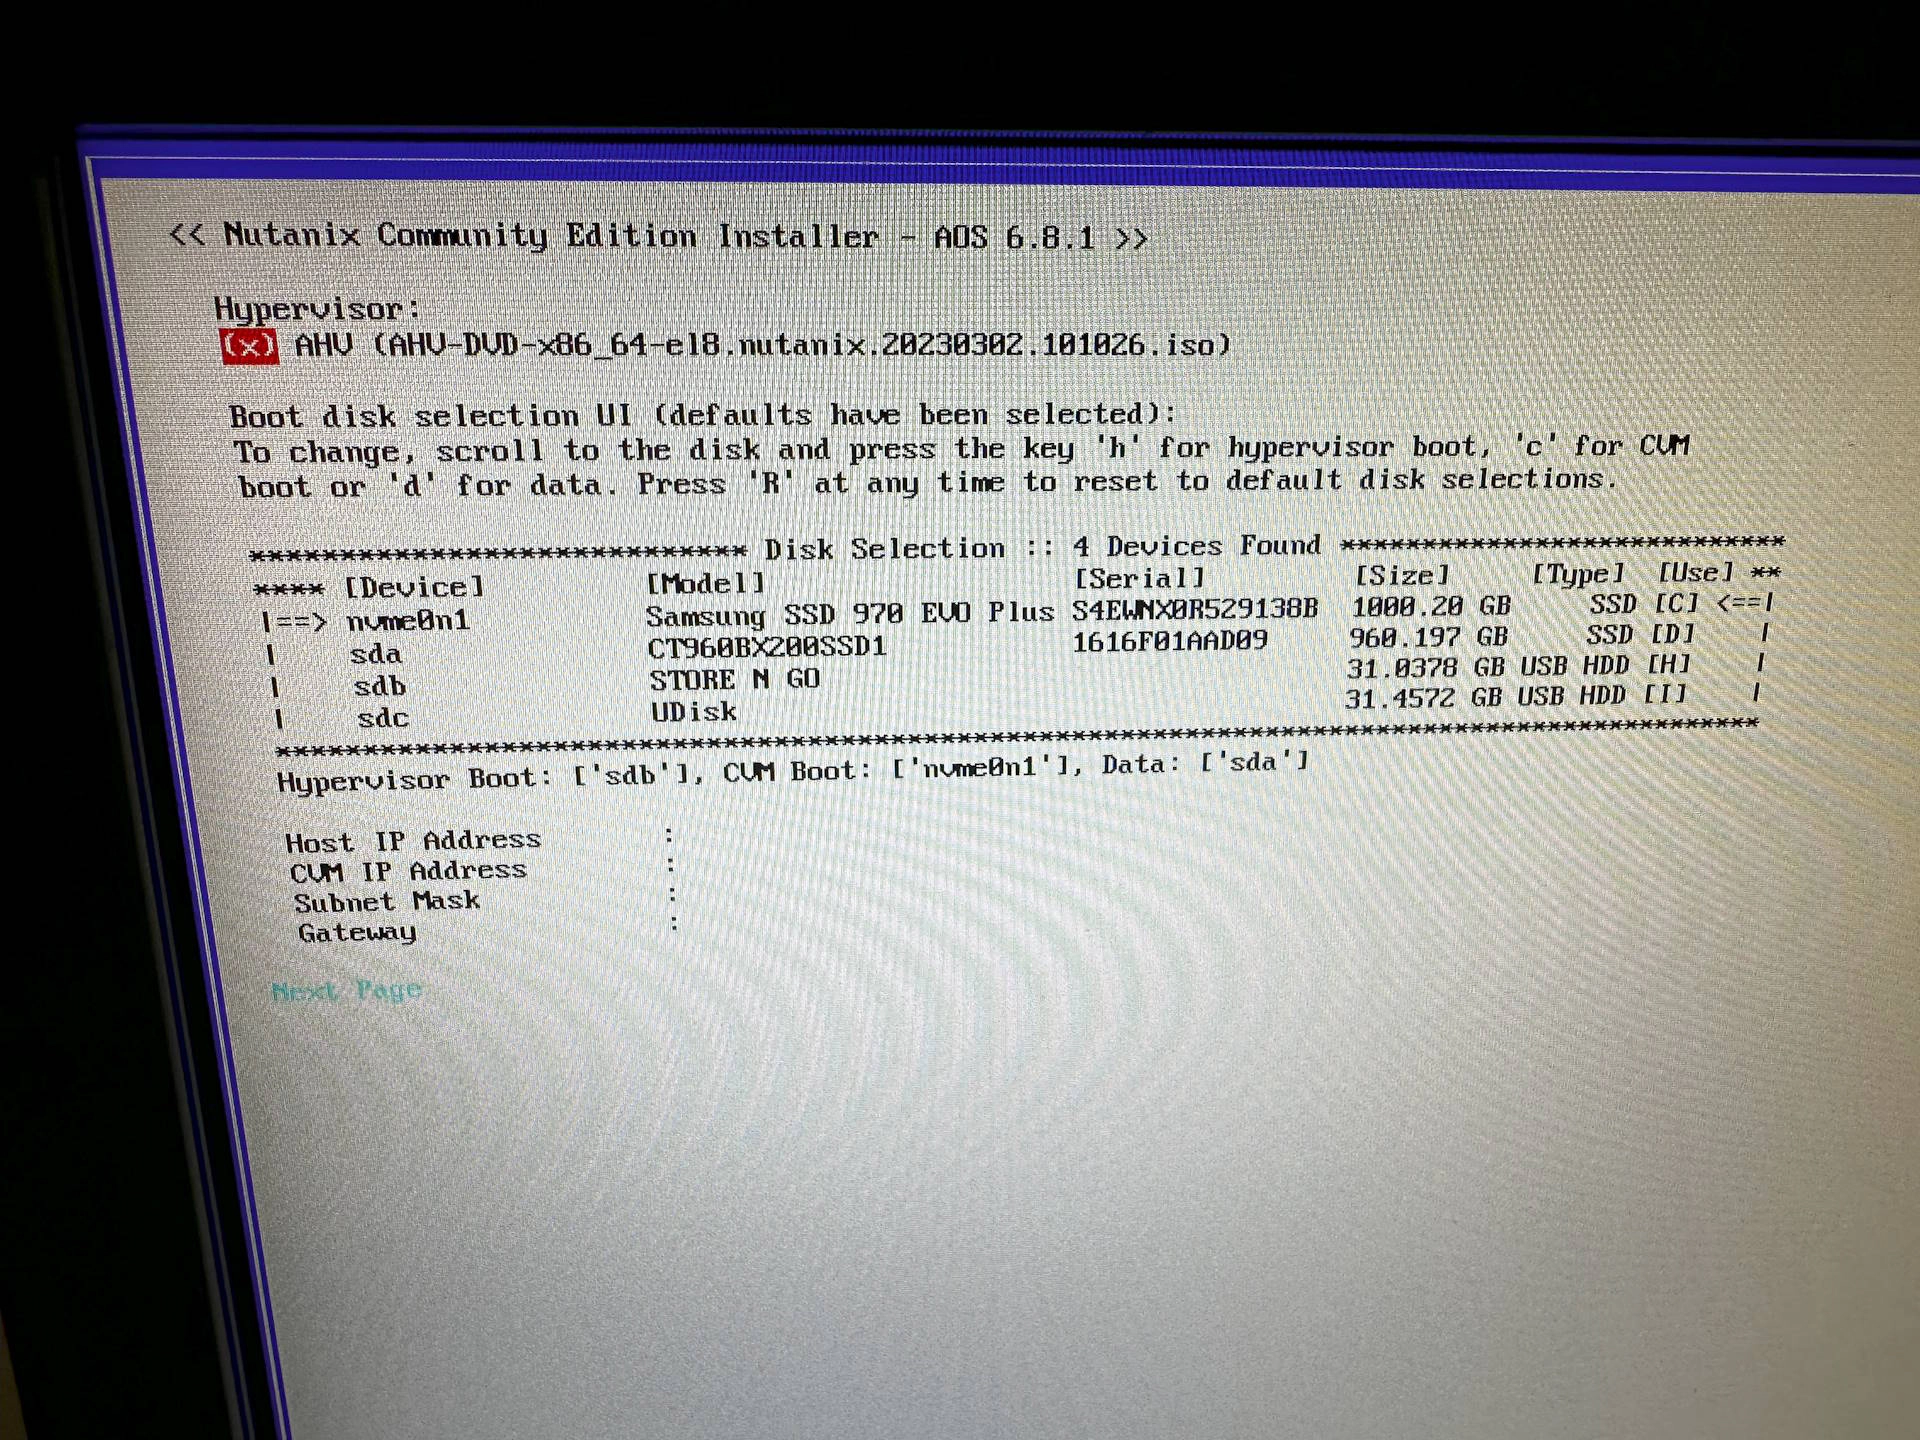
Create a bootable USB from the Nutanix CE 2.1 ISO file, boot, and wait until the installer screen appears. Select the disk for the AHV hypervisor (H), the CVM disk (C) and the disk to store the data (D).
Fill in host IP address, CVM IP address, subnet and gateway IP address. Click on Next Page, accept the license terms and start the installation!
When planning the installation of the Nutanix CE environment, it is wise to take into account you need multiple IP addresses:
- Nutanix AHV host IP address
- CVM virtual machine with Prism Element IP address
- Nutanix Prism Central virtual machine IP address
- Cluster virtual IP address
- iSCSI Data Services IP address
Cluster configuration
After installation of Nutanix CE, reboot the server and login to the CVM with nutanix and password nutanix/4u. Do not forget to change this default password with the passwd command. Create the cluster with the command: cluster -s <ip address of CVMs> --redundancy_factor=1 --dns_servers <ip adress of DNS servers> create
When the cluster is created, the PrismElement web management console should be accessible via https://<CVM ip address>:9440.
Login to the management console with user admin and password nutanix/4u, change the password and login again. After login provide your Nutanix NEXT credentials to start using Nutanix CE.
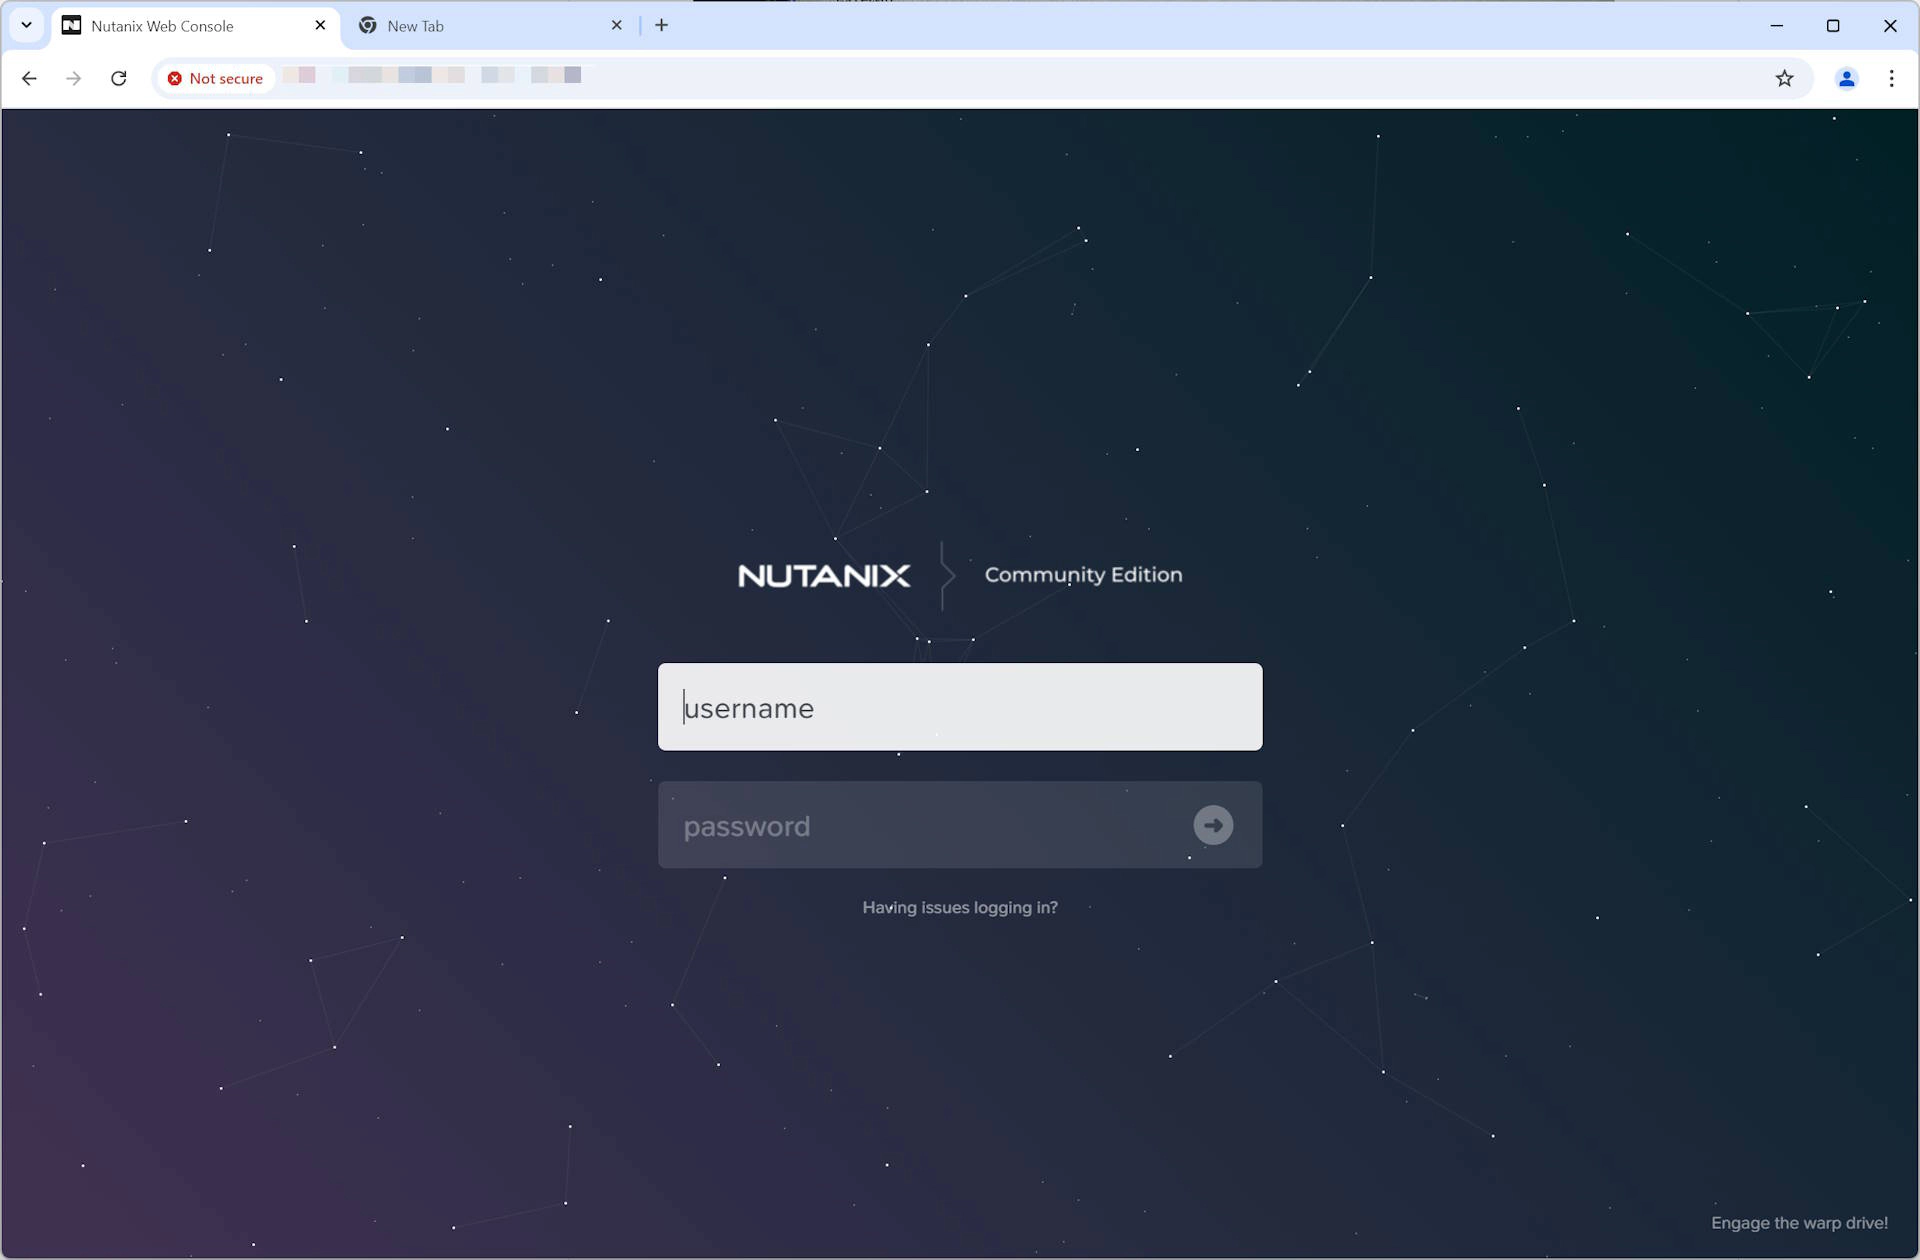
Photo by Hannah Busing on Unsplash