Part 2 of 6: Create a Reference Image MDT TaskSequence Automated process of building up-to-date .WIM images to use for deployment of servers and workstations.
In this second part we will create the MDT TaskSequence for the Reference Image. With the TaskSequence the operating system will be installed, updated and captured as a .WIM file. This WIM file can be used as input to deploy servers and workstations.
Step-by-step:
Install Windows Assesment and Deployment Kit (ADK)
Install Microsoft Deployment Toolkit
Create service account
Create Reference Share
Import Operating systems
Create MDT Reference Image TaskSequence
Configure TaskSequence and reference share
Add optional applications to Reference Image
Remove ‘Press any key…’ from WinPE boot CD
Create Windows Reference Images
Copy Reference Images to an MDT Deployment share
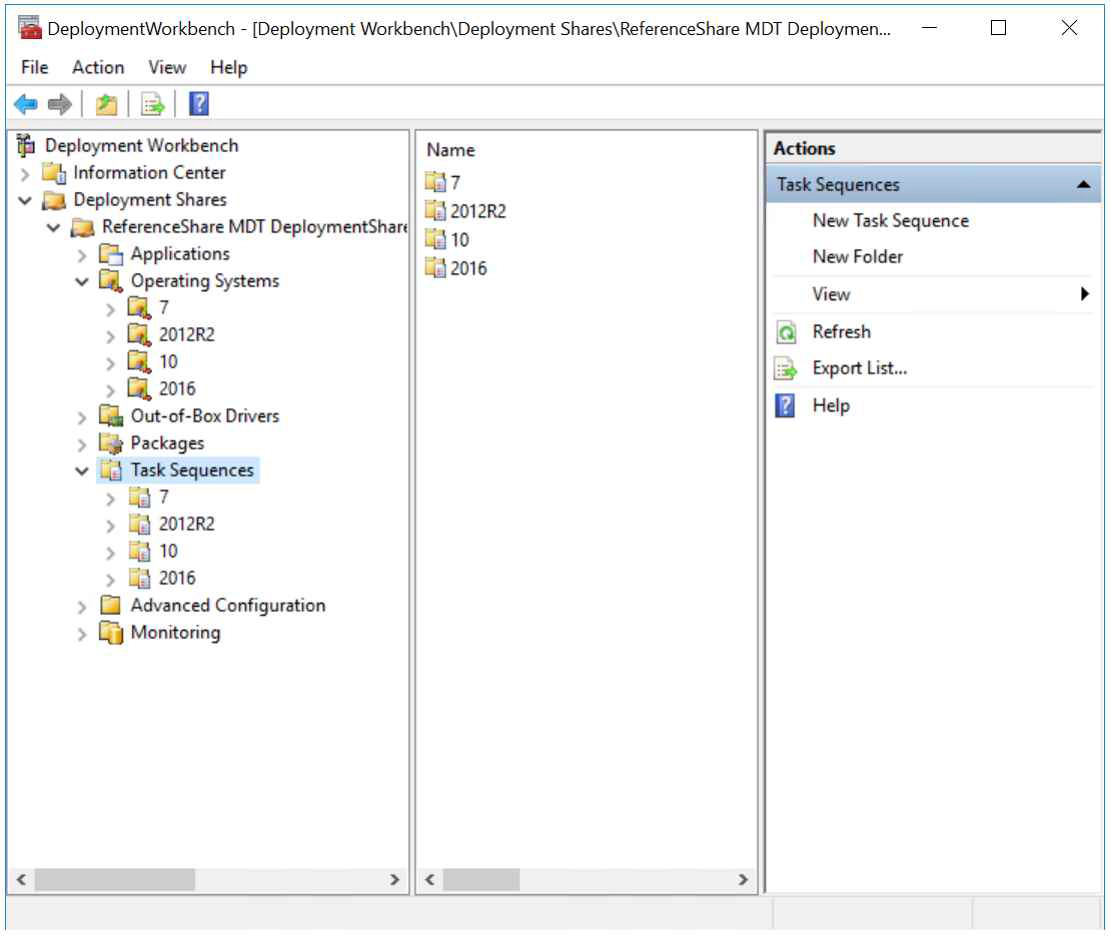
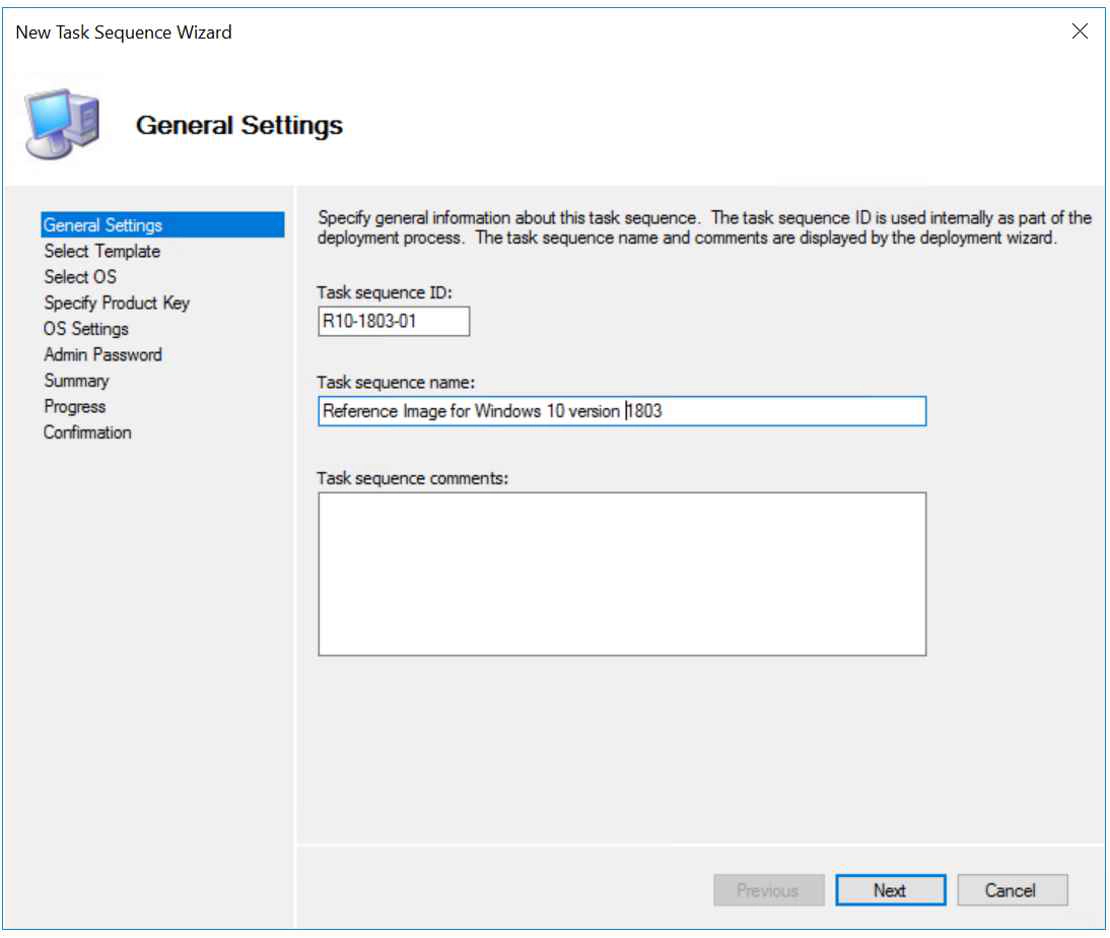
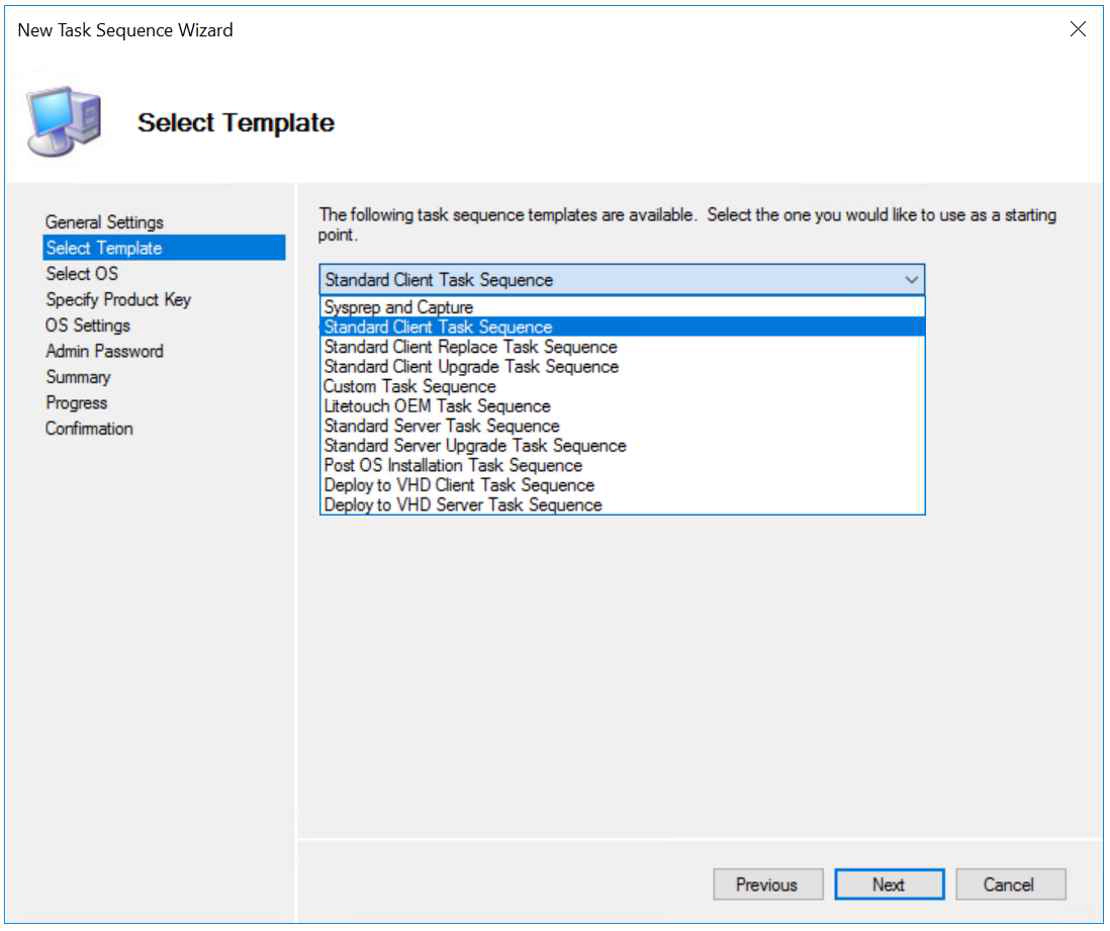
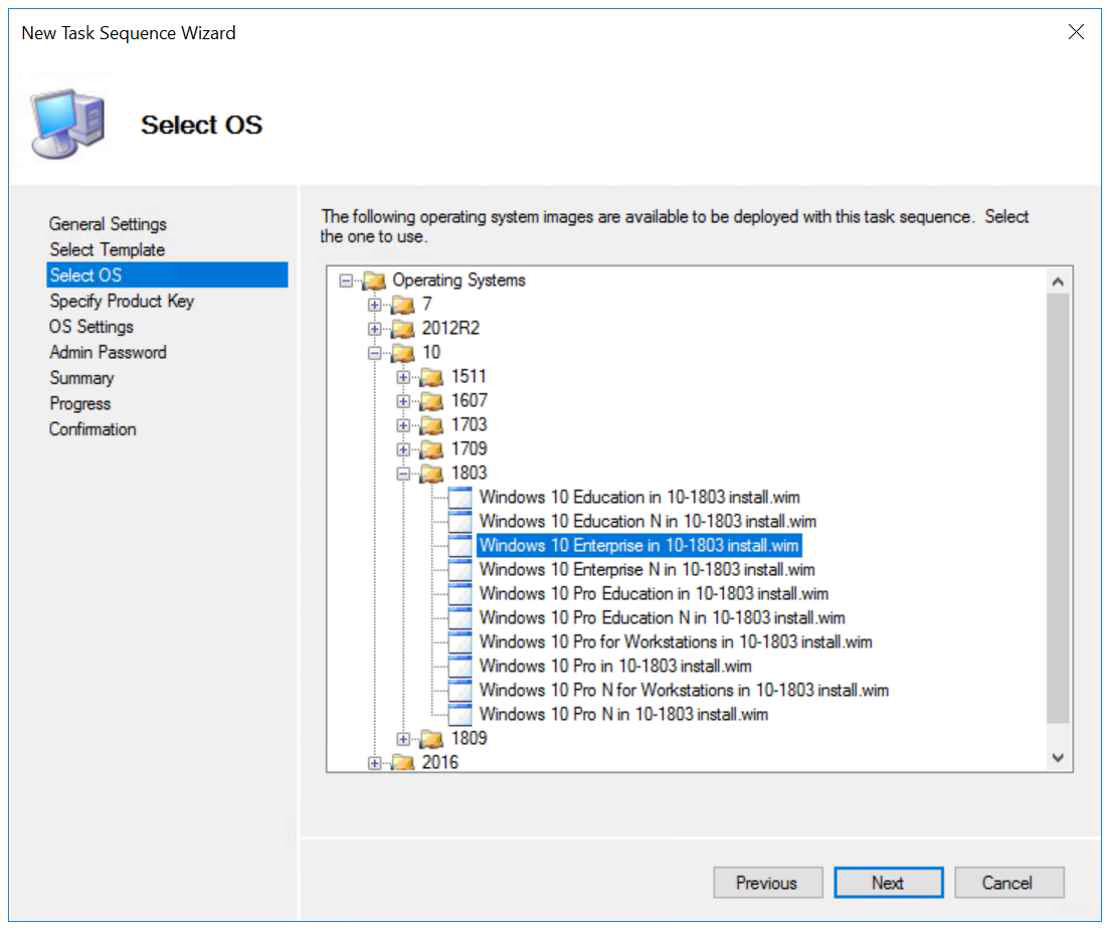
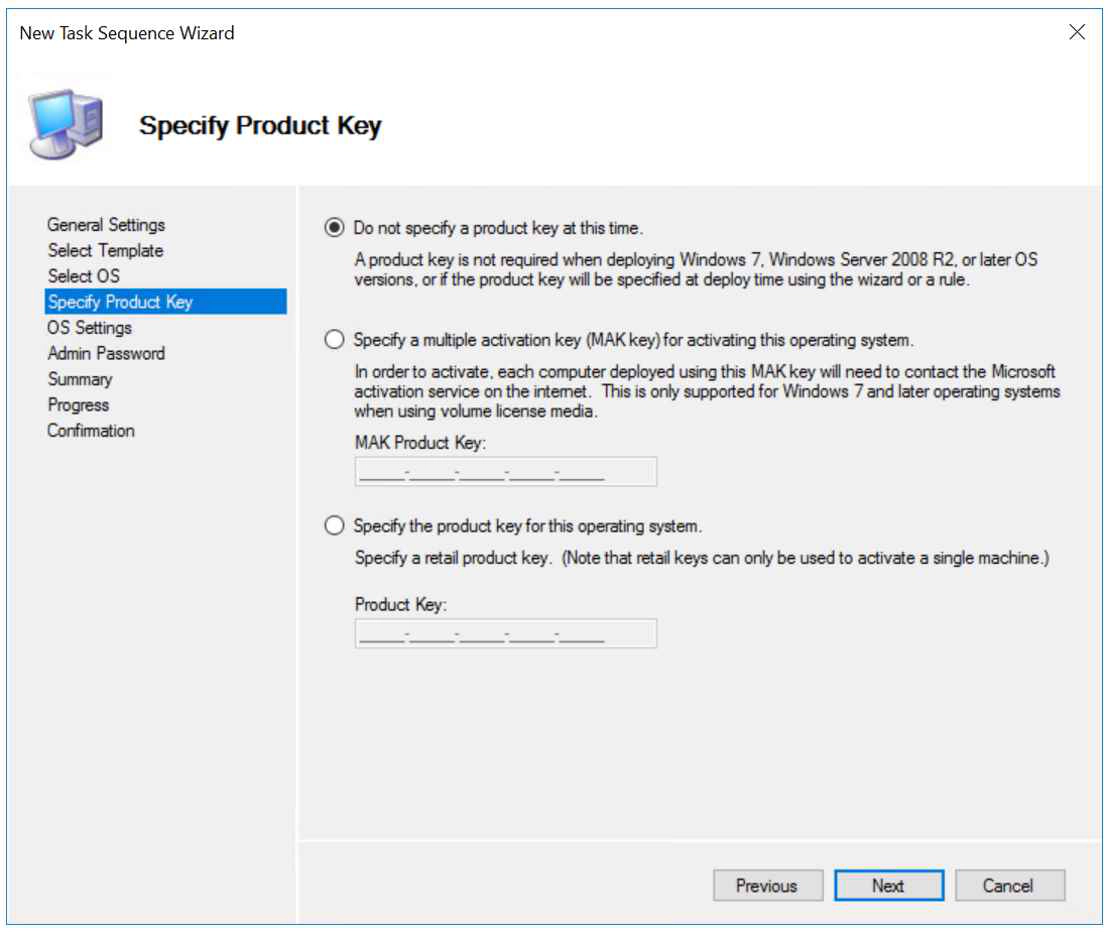
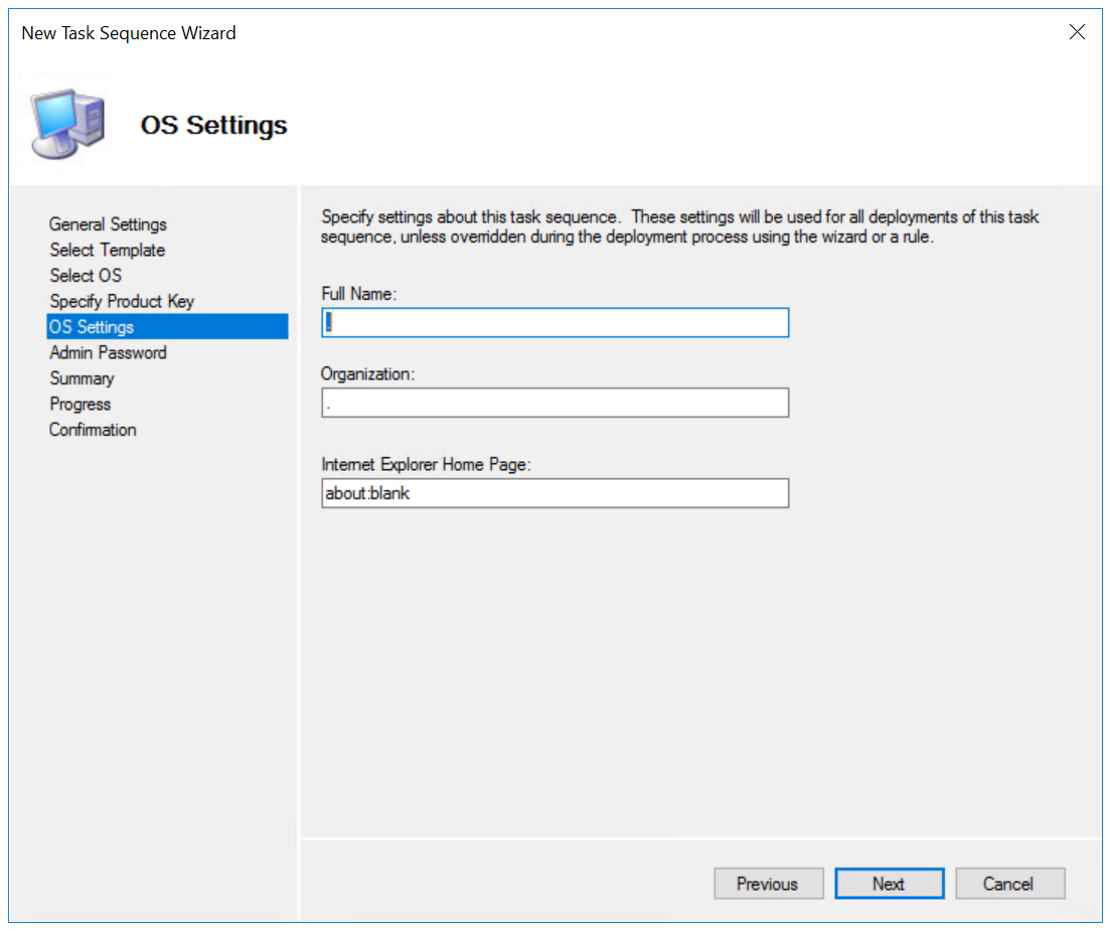
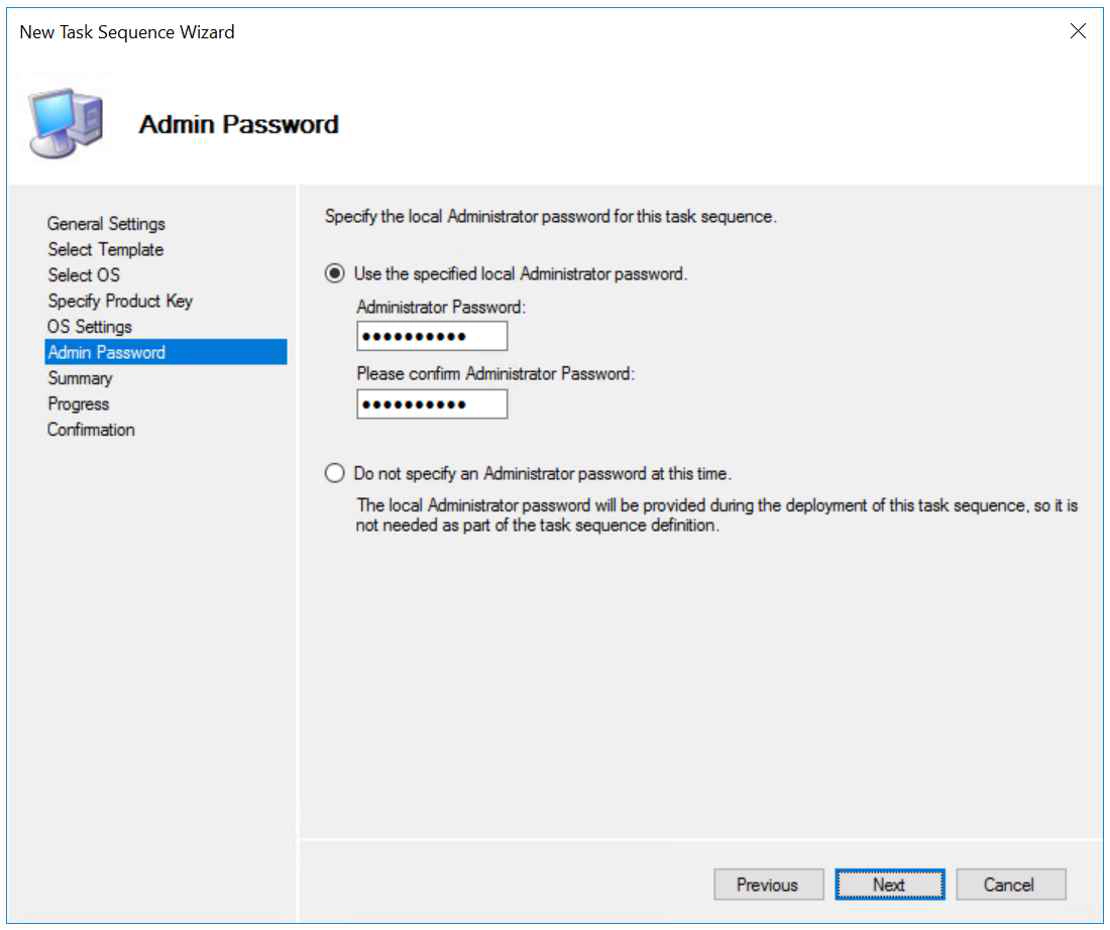
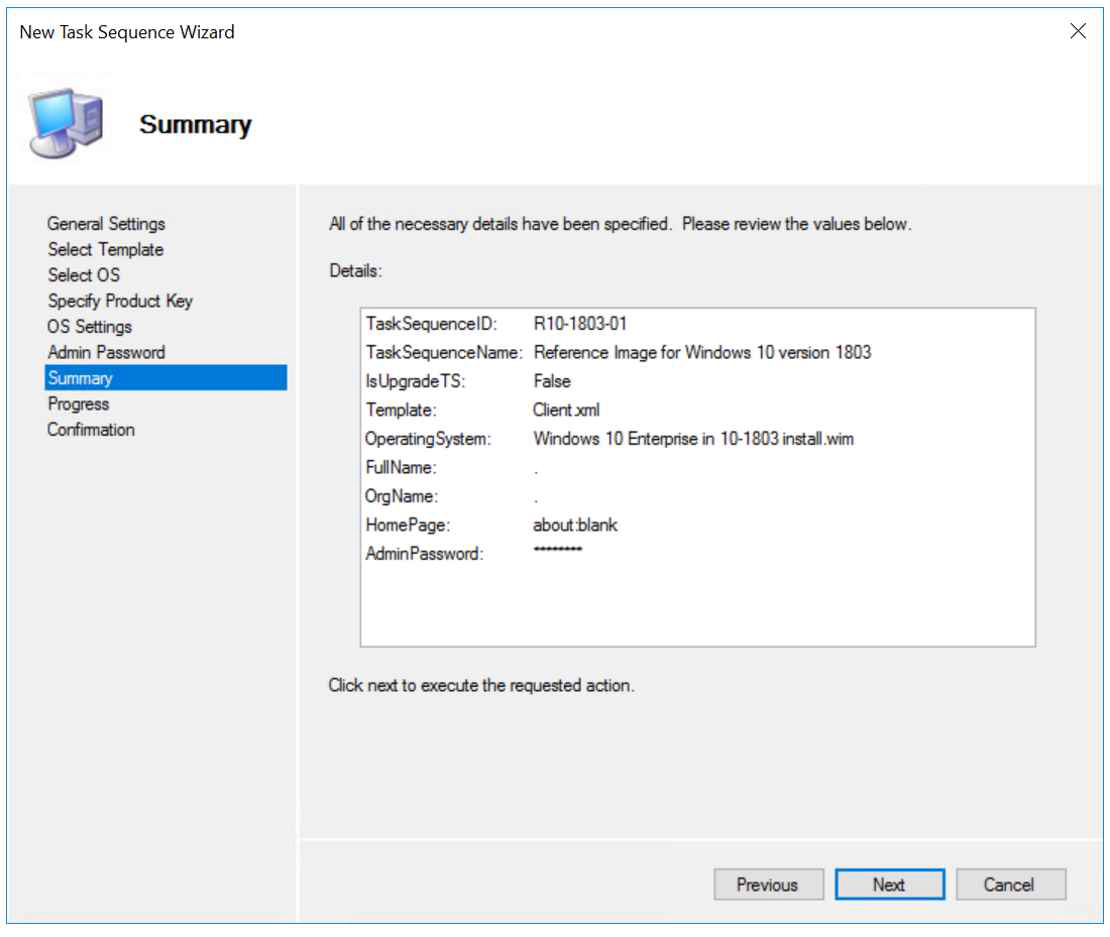
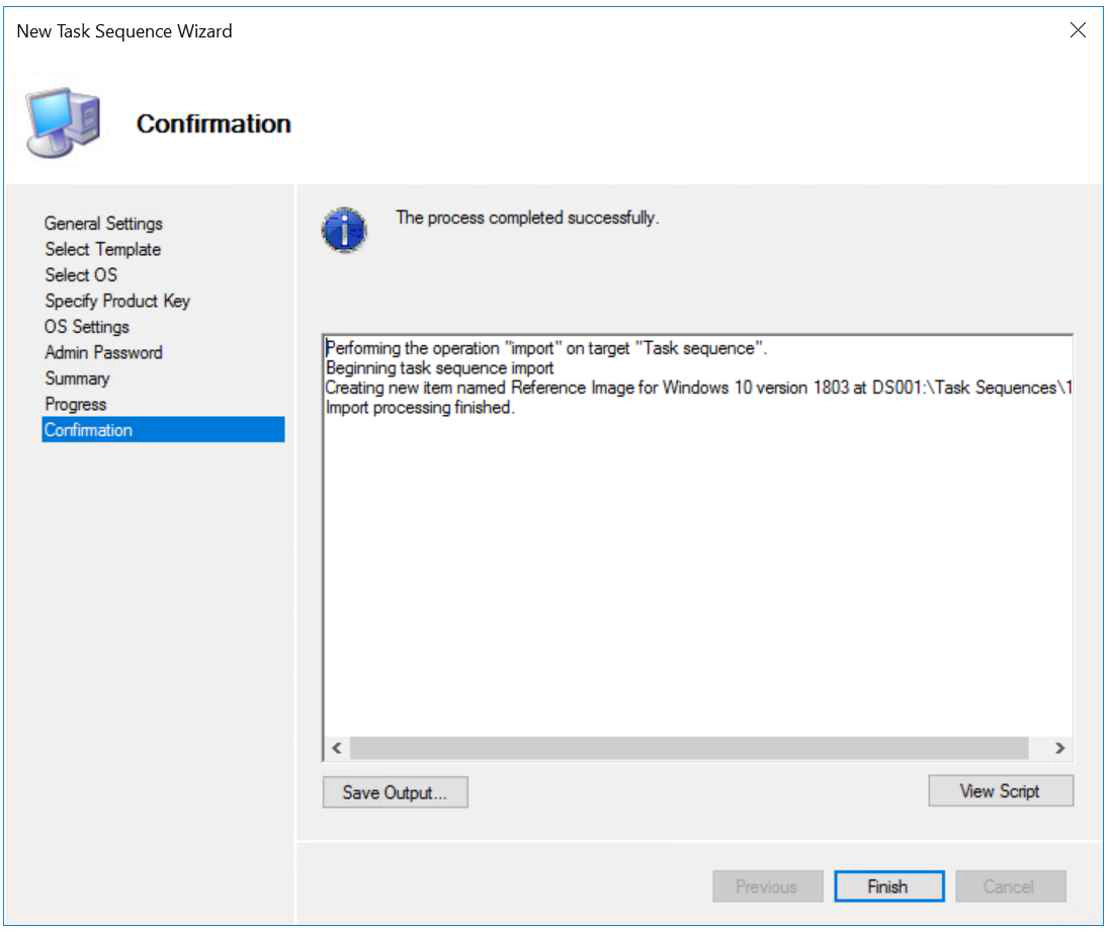
Create MDT Reference Image TaskSequence: After the operating systems are imported, the Reference Image TaskSequence can be created. This is a manual task. First create a clear Task Seqence folder structure like the example below. Now we can create the Task Sequence. I have created a automation module in the past, but the TaskSequence uses a unattended.xml which is different for each OS and OS version. Creating the TaskSequence is very simple, open the Deployment Workbench, go to Task Sequences and select ‘New Task Sequence’. A wizard will start to guide you through the process. Important is to remember the TaskSequence ID, you will need this in part 5 of the blog series.
Edit BOOTSTRAP.INI: The BOOTSTRAP.INI file contains information to access to the MDT deployment share when booting from the WinPE ISO file. The Automation buildingblock will automatically configure the BOOTSTRAP.INI file.
[Settings]
Priority=MacAddress, Default

[Default]
DeployRoot=\\#computername#\#share#
UserID=SA_MDT
UserDomain=#computername#
UserPassword=#password#
KeyboardLocale=en-US
SkipBDDWelcome=YES
Edit CUSTOMSETTINGS.INI: The Automation buildingblock will automatically configure the CUSTOMSETTINGS.INI file.
[Settings]
Priority=MacAddress, Default

[Default]
DevMode=ON
DeployRoot=\\#COMPUTERNAME#\ReferenceShare$
UserID=SA_MDT
UserDomain=#COMPUTERNAME#
UserPassword=#PASSWORD#

SLShare=\\#COMPUTERNAME#\ReferenceShare$\Captures\Logs
SLShareDynamicLogging=%DeployRoot%\Captures\Logs
_SMSTSOrgName=Running %TaskSequenceID% on %OSDComputerName%

DeploymentType=NEWCOMPUTER
DoCapture=YES
ComputerBackupLocation=NETWORK
BackupShare=\\#COMPUTERNAME#\ReferenceShare$
BackupDir=Captures\%OSDComputername%
BackupFile=%OSDComputerName%.wim

SkipTaskSequence=YES
SkipAdminPassword=YES
AdminPassword=#PASSWORD#
SkipApplications=YES
SkipBitLocker=YES
SkipCapture=YES
SkipComputername=YES
SkipComputerBackup=YES
SkipDomainMembership=YES
SkipLocaleSelection=YES
SkipProductKey=YES
SkipRoles=YES
SkipTimeZone=YES
SkipSummary=YES
SkipFinalSummary=YES
SkipUserData=YES
FinishAction=SHUTDOWN
OSInstall=YES
HideShell=NO
DoNotCreateExtraPartition=YES

;Windows 7 Enterprise SP1 x64
[00:43:29:00:07:64]
OSDComputerName=W7E-x64
TaskSequenceID=R7SP1-01
ProductKey=33PXH-7Y6KF-2VJC9-XBBR8-HVTHH

;Windows 10 Enterprise x64 1709
[00:43:29:1E:17:09]
OSDComputerName=W10E-1709
TaskSequenceID=R10-1709-01
ProductKey=W269N-WFGWX-YVC9B-4J6C9-T83GX

;Windows 10 Enterprise x64 1803
[00:43:29:18:03:10]
OSDComputerName=W10E-1803
TaskSequenceID=R10-1803-01
ProductKey=W269N-WFGWX-YVC9B-4J6C9-T83GX

; Windows Server 2012 R2 DataCenter
[00:43:29:00:20:12]
OSDComputerName=W2K12R2
TaskSequenceID=R2012R2-01
ProductKey=W3GGN-FT8W3-Y4M27-J84CP-Q3VJ9

;Windows Server 2016
[00:43:29:00:20:16]
OSDComputerName=W2K16D
TaskSequenceID=R2016-01
ProductKey=CB7KF-BWN84-R7R2Y-793K2-8XDDG

;Windows Server 2016 Core 1709
[00:43:29:17:20:16]
OSDComputerName=W2K16C
TaskSequenceID=R2016-1709-01
ProductKey=CB7KF-BWN84-R7R2Y-793K2-8XDDG
Change WinPE ISO background: Instead of a boring white MDT background I use a custom background when building MDT images. This buildingblock will replace the default background in the MDT SAMPLES folder with a custom one. When (re-)building a WinPE ISO file, this background will be included and shown when booting form the ISO file. Please be sure to schedule this module on every agent where you have deployed the MDT Deployment Workbench.
Automation BuildingBlocks: Edit BOOTSTRAP.INI Edit CUSTOMSETTINGS.INI Change WinPE ISO background
Photo by Jandira Sonnendeck on Unsplash

